TITANIUM
CONTROL QUALITY
INTRODUCTION
Symbol: Ti
Atomic n°: 22
Density: 4,5
Molar mass: 47,9 g.mol-1
Melting point: 1670 °C
PROCESSING
- The first stage consists of reacting the titanium oxides with carbon and chlorine (an operation called “carbochlorination”) in order to obtain titanium tetrachloride. This reaction is written :
- The second step allows solid titanium to be obtained by reducing the TiCl4 with magnesium:
The titanium obtained is in the form of a porous solid called “sponge”. This sponge is then melted down to obtain pure titanium or the desired titanium alloy (after additions to the molten metal). The titanium is resolidified into an ingot.
These ingots can be transformed into semi-finished products (slabs, billets, blooms) by machining or forging, then into finished products (bars, coils, plates, cables, etc.) by various operations (rolling, forging, extrusion, etc.).
PROPERTIES AND USES
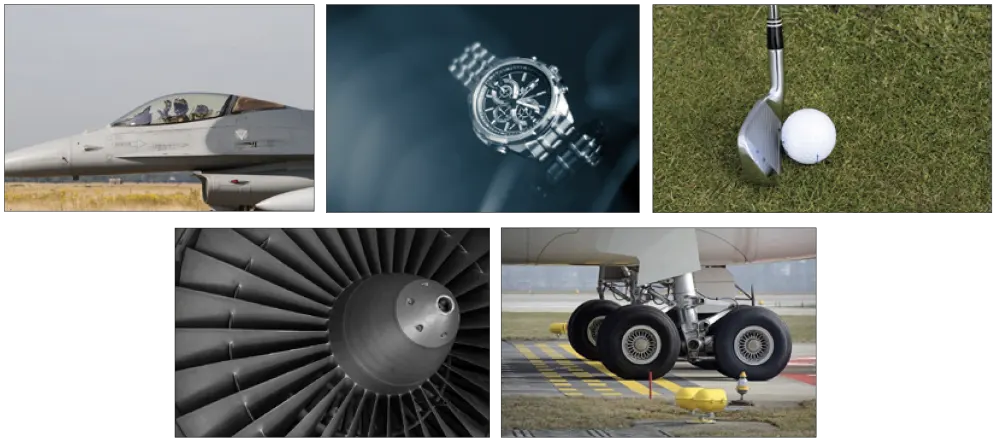
In addition to its very good density, titanium has exceptional corrosion resistance (higher than that of stainless steels) even in the most aggressive environments. This resistance combined with its biocompatibility and low modulus of elasticity (110,000MPa) makes it an ideal metal for the medical field.
It should be noted that heat and mechanical treatments are carried out on titanium in order to modify its physico-chemical properties.
There are four classes of titanium alloys:
UNALLOYED TITANIUM
is mainly used in the chemical field for its corrosion resistance properties and its cold deformability. It has excellent weldability.
Example of grade: T40.
THE ALPHA ALLOYS α
also have excellent weldability but are difficult to cold-form and not heat-treatable. They are used for cryogenic applications, aerospace parts and in the chemical industry.
Example of grade: TA5E (TiAl5Sn2.5).
THE ALPHA-BETA ALLOYS α+β
offer the most possibilities due to their ability to be heat-treated, their compositions and therefore their different properties. They are used for aeronautical parts (structures, turbojets, etc.) or for marine and biomedical applications. On the other hand, they are more difficult to weld.
Example of grade: TA6V (TiAl6V4).
BETA ALLOYS β
offer an excellent combination of mechanical properties: hardness – ductility – fatigue resistance. They are weldable but nevertheless not heat-treatable. These alloys are mainly used for highly stressed structural aerospace parts..
Example of grade: Ti.10.2.3 (TiV10Fe2Al3).
=> A fifth category can also be defined: INTERMETALLIC TIAL COMPOUNDS. They are alloys of titanium, aluminum (generally between 45 and 48%) and additive elements. They are of interest for high temperature applications (aeronautics, automotive, etc.)
Example of grade: TiAl47Nb2Cr2.
However, the majority of titanium is used in the form of titanium dioxide (TiO2) which is an excellent pigment and/or thickener. It is subsequently used for paints, plastics, paper, cosmetics, sun creams, etc.
METALLOGRAPHIC PREPARATION
All these influences then lead to the realization of metallographic quality controls such as: microstructure examinations, porosity and/or heterogeneity research, inclusion cleanliness, hardness tests, hardening controls, grain size controls, etc.
Obtaining an inspection surface requires a succession of operations, each as important as the next, regardless of the material.
These steps are in the following order:
• Standardisation of the geometry of the sample taken (if necessary), called “MOUNTING”.
• Improvement of the surface condition of this sample, called “POLISHING”.
• Characterisation of the sample: revealing the microstructure of the sample by an etching reagent (if necessary) called “METALLOGRAPHIC ETCHING” and microscopic observation (optical or electronic).
=> Each of these steps must be carried out rigorously, otherwise the following steps will not be possible.

CUTTING
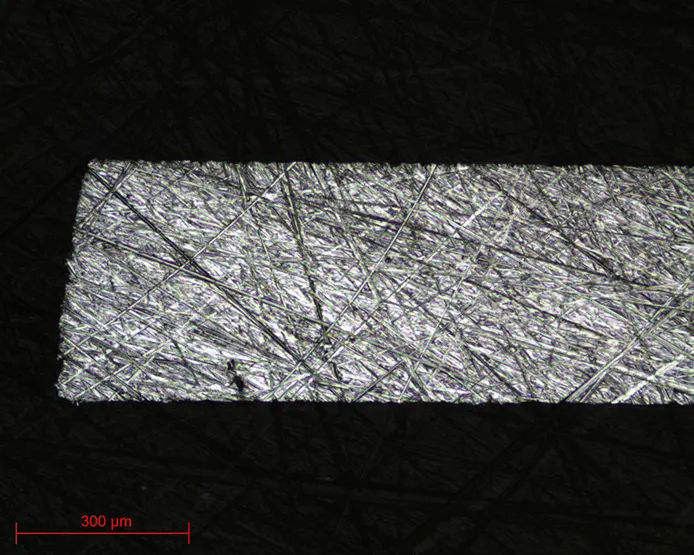
In other words, it is essential to avoid heating or any deformation of the metal that could lead to degradation of the material. Cutting is a fundamental step which conditions the further preparation and inspection of parts.
PRESI’s wide range of medium and large capacity cutting and micro-cutting machines can be adapted to any need with regard to cutting precision, sizing or quantity of products to be cut:
Clamping, i.e. holding the workpiece, is also essential. Indeed, if the workpiece is not well held, the cut can present risks for the consumable, the workpiece and the machine.
In addition, titanium is very sensitive to burning during metallographic cutting, which makes it all the more important to determine the appropriate consumables and parameters.
CONSUMABLES
 |
TITANIUM AND ALLOYS |
| Micro-cutting | UTW S Ø180 MNF |
| Medium-capacity cutting | T MNF F |
| High-capacity cutting | T MNF |
Table1: Choosing the right cut-off wheel type

MOUNTING
=> Achieving good-quality mounting is essential to protect fragile materials and also to achieve good preparation results for polishing and future analysis.
Before mounting, the sample should be deburred with coarse abrasive paper, for example, to remove any cutting burrs. Cleaning with ethanol (in an ultrasonic tank for even greater efficiency) is also possible. This allows the resin to adhere as well as possible to the sample and thus limits shrinkage (space between the resin and the sample).
If shrinkage persists, it can lead to problems during polishing. Abrasive grains may become lodged in this space and then be released at a later stage, thus creating a risk of pollution for the sample and the polishing surface. In this case, cleaning with an ultrasonic cleaner between each step is recommended.
There are two mounting options:
HOT MOUNTING
• Fully automatic hot-mounting press.
• Easy to use: memorisation, adjustment of processes and speed of execution make it a high-precision machine.
• The hot-mounting machine has 6 different mould diameters from 25.4-50mm.
+ POINT
COLD MOUNTING
• If the parts to be examined are fragile/sensitive to pressure
• If they have a complex geometry such as a honeycomb structure.
• If a large number of parts are to be mounted in series.
The cold process can be used with:
+ POINT
+ POINT
CONSUMABLES
 |
TITANIUM AND ALLOYS |
| Hot process | Hot epoxy Phenolic Allylic Conductive phenolic** Acrylic copper powder** |
| Cold process | KM-U KM-B 2S* KM-CO** |
Table 2: Choosing the right mounting resin type
* Suitable for very large series
** Conductive resins for SEM observations

POLISHING
PRESI offers a wide range of manual and automatic polishing machines, with a wide choice of accessories, to cover all needs, from pre-polishing to super-finishing and polishing of single or series samples.
The MECATECH range of automatic polishers allows both manual and automatic polishing. With its advanced technologies, motor power from 750-1500 W, all the PRESI experience is concentrated in this very complete range. Whatever the sample number or size, MECATECH guarantees optimal polishing.
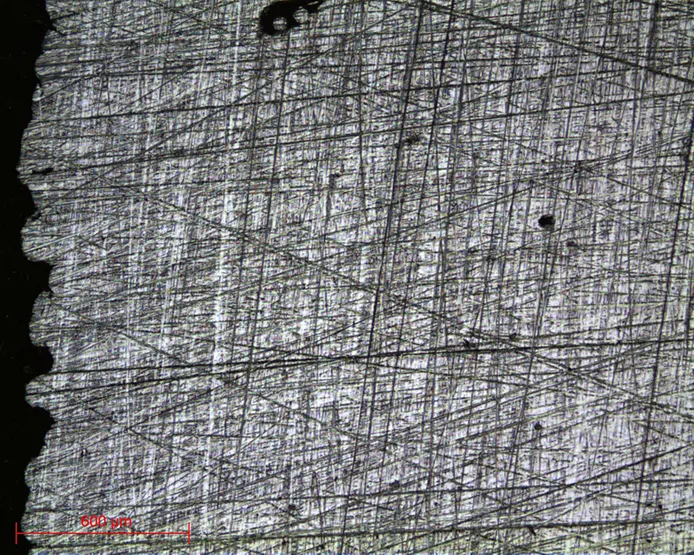
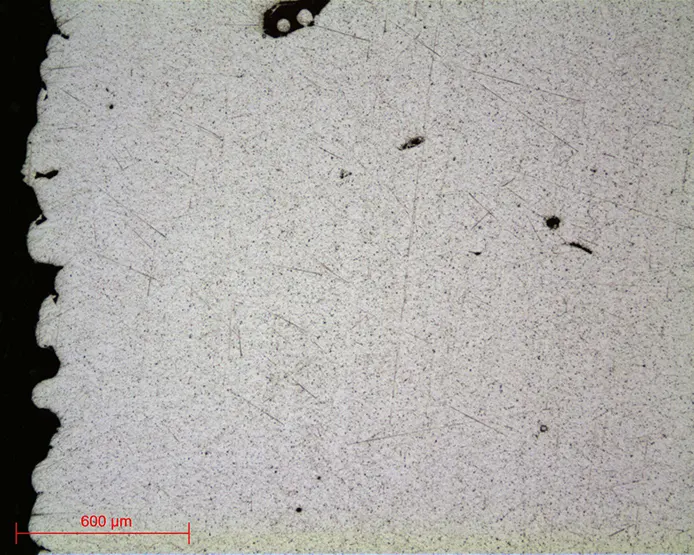
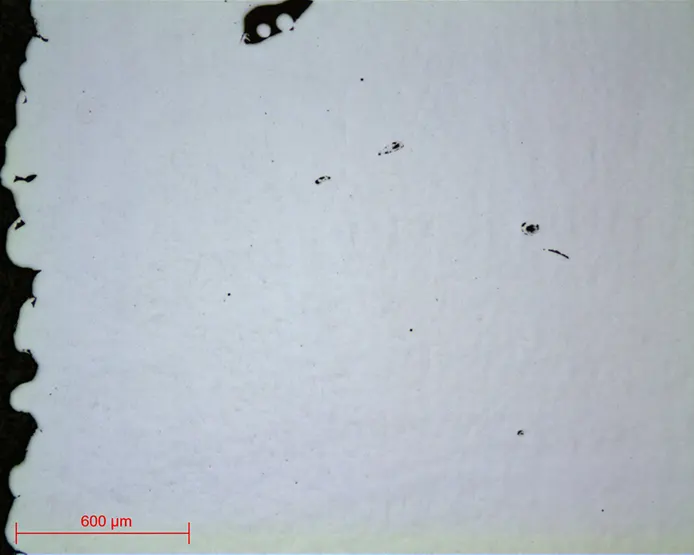
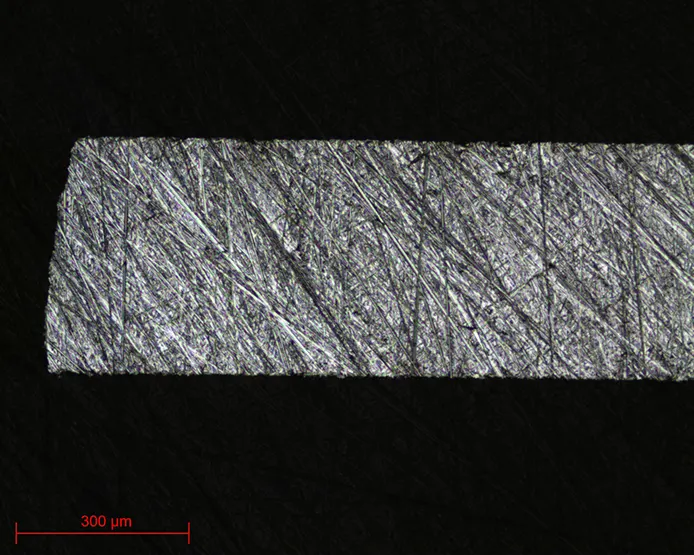
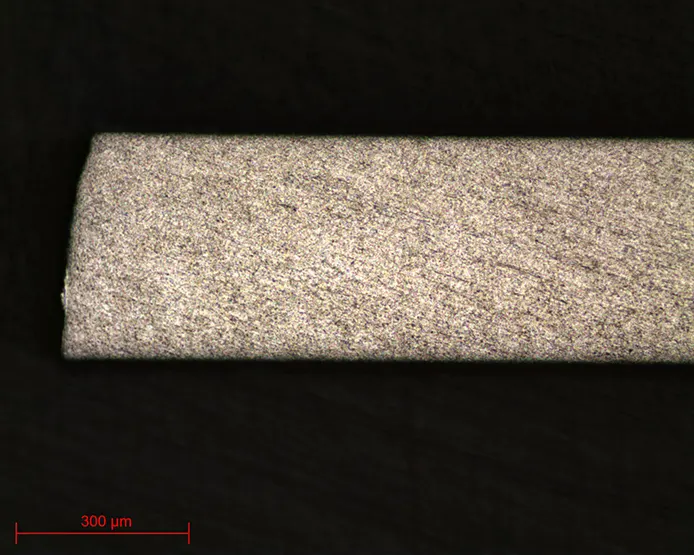
As a material, titanium polishes in a very special way, it is relatively soft and prone to incrustations and plastic deformation. As a result, during a polishing process where the material is usually cut/removed by the abrasive, the material will in this case have a tendency to “bend” back on itself. This is known as “buttering”. This phenomenon is undesirable and greatly hinders microscopic observation. Titanium therefore has its own specific polishing ranges in order to guarantee an excellent examination surface.
CONSUMABLES AND POLISHING RANGE
All the first steps of each range are called “levelling” and consist of removing material quickly to level the surface of the sample (and resin). Those given below are standard and can therefore be modified as required.
Applied pressures vary according to sample size, but in general the following applies: 1daN per 10mm mounting diameter for the pre-polishing steps (ex: Ø40mm = 4 daN) then reduce force by 0.5daN at each polishing step with an abrasive suspension.
RANGE N°1
| N° | Support | Suspension / Lubricant | Platen Speed (RPM) | Head Speed (RPM) | Rotation direction platen / head | Time |
| 1 | SiC P320 | Ø / Water | 300 | 150 | 1’ | |
| 2 | TOP | 9μm LDP / Reflex Lub | 150 | 135 | 5’ | |
| 3 | SUPRA | SPM / Water | 150 | 100 | 5’ |
RANGE N°2
| N° | Support | Suspension / Lubricant | Platen Speed (RPM) | Head Speed (RPM) | Rotation direction platen / head | Time |
| 1 | SiC P320 | Ø / Water | 300 | 150 | 1’ | |
| 2 | SiC P600 | Ø / Water | 300 | 150 | 1’ | |
| 3 | SiC P1200 | Ø / Water | 300 | 150 | 1’ | |
| 4 | SiC P2400 | Ø / Water | 300 | 150 | 1’ | |
| 5 | SiC P4000 | Ø / Water | 300 | 150 | 1’ | |
| 6 | SUPRA | SPM / Water | 150 | 100 | 5’ |
RANGE N°3
| N° | Support | Suspension / Lubricant | Platen Speed (RPM) | Head Speed (RPM) | Rotation direction platen / head | Time |
| 1 | SiC P320 | Ø / Water | 300 | 150 | 1’ | |
| 2 | SiC P1200 | Ø / Water | 300 | 150 | 1’ | |
| 3 | RAM | Al2O3 N°4 / Water | 150 | 100 | 2’ | |
| 4 | SUPRA | SPM / Water | 150 | 100 | 3’ |
However, an alternative has been developed in the particular case where colloidal silica is not suitable. The SPM can be replaced by a suspension of Al2O3 N°2 with the same parameters.
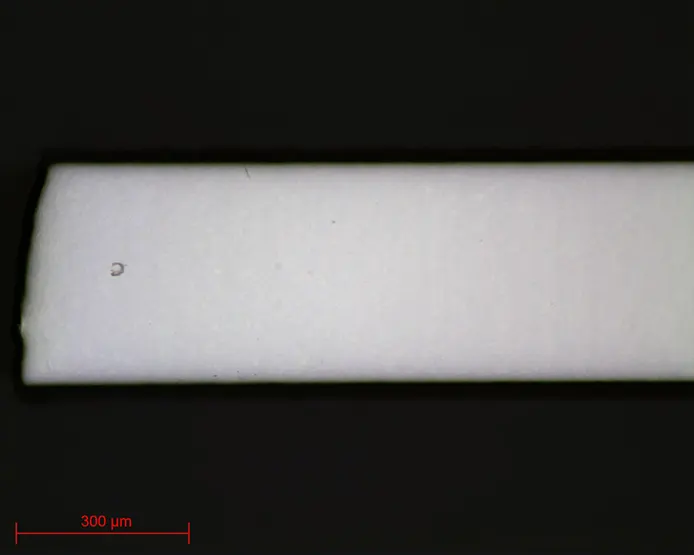
=> Range N°1 is the most versatile range, is effective on most titanium grades and provides an excellent inspection surface.
=> Range N°2 is the traditional titanium polishing range, its advantage being the absence of polishing steps using diamond suspension. Diamond polishing should be restricted to the bare minimum, because it tends to encrust and “butter” the surface of the specimen.
=> Range N°3 was developed specifically for polishing a very soft titanium grade, i.e. unalloyed titanium (T40 for example). The diamond suspension must not be used in this case.
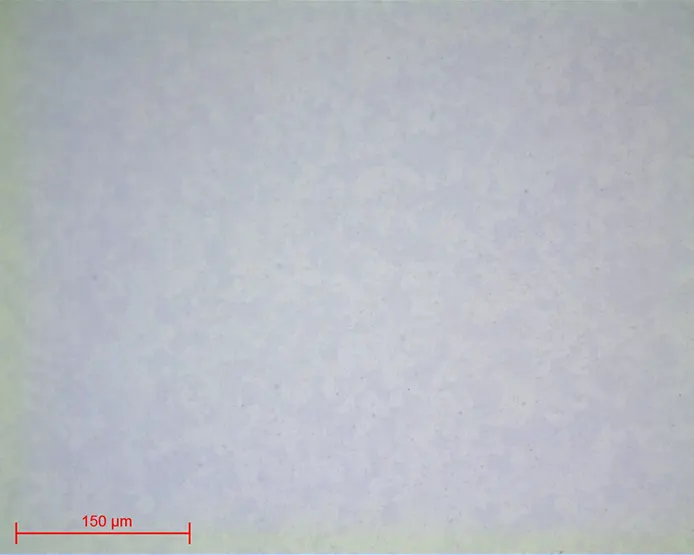
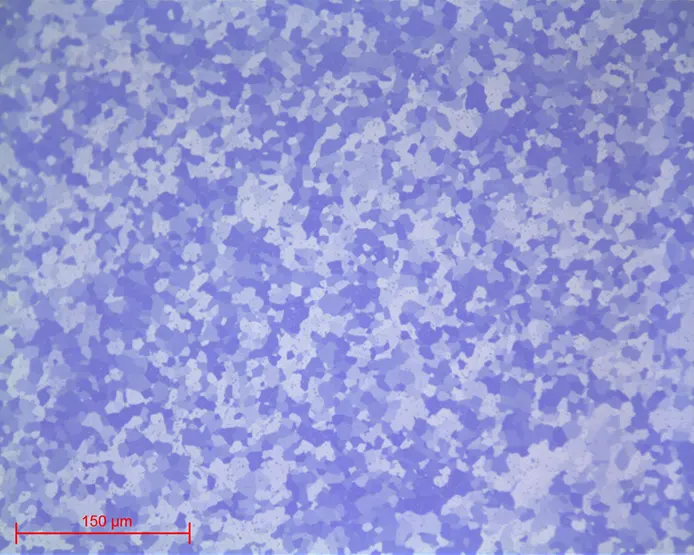
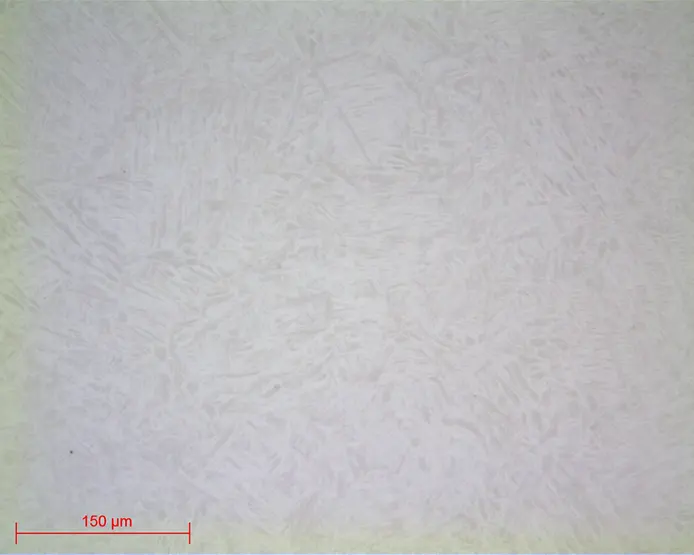
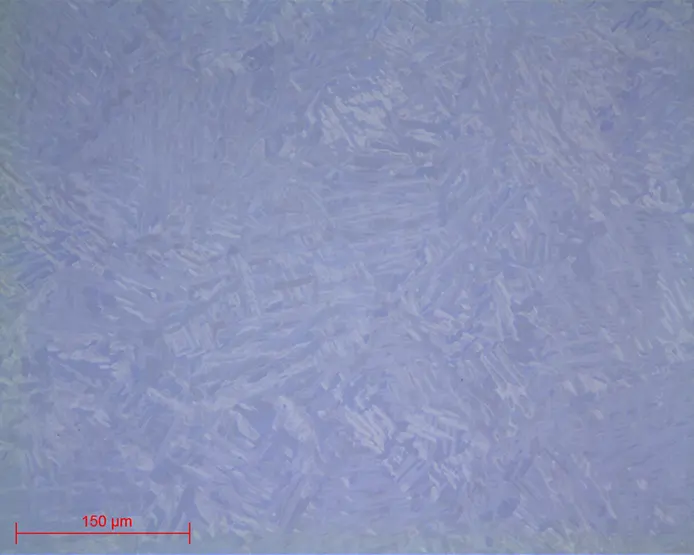
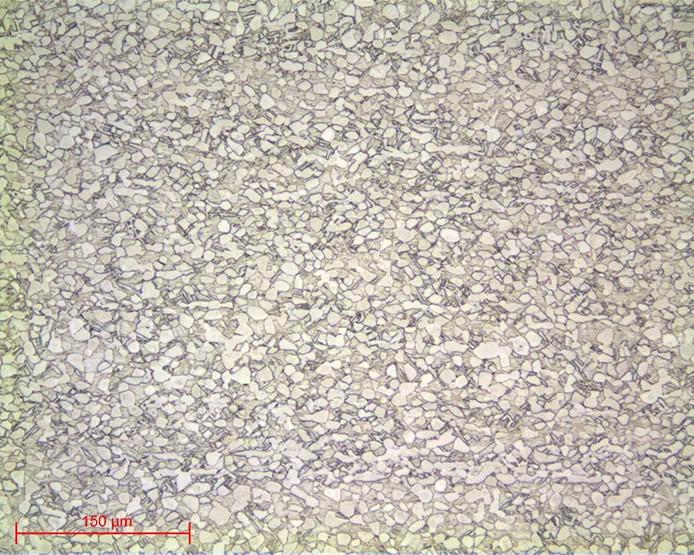
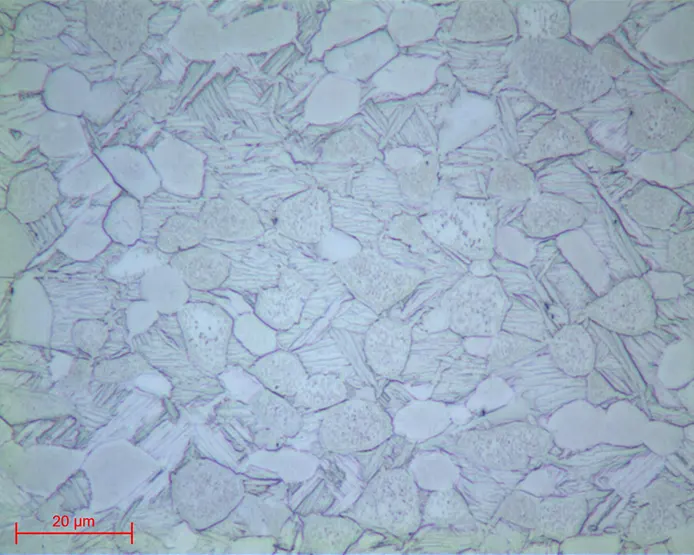
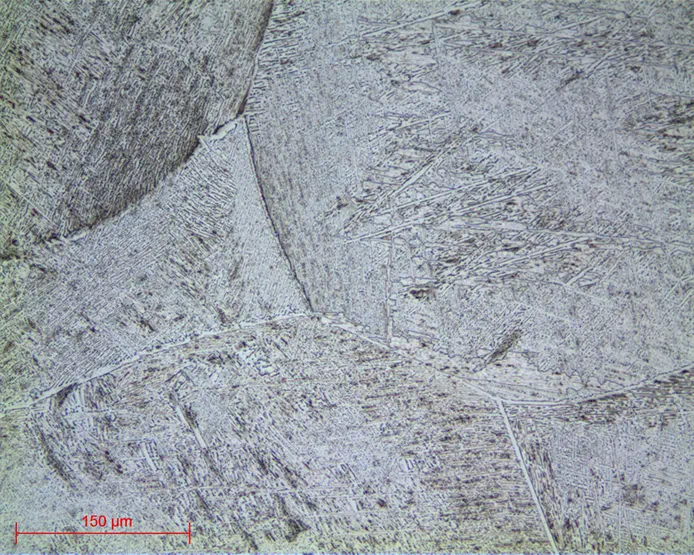
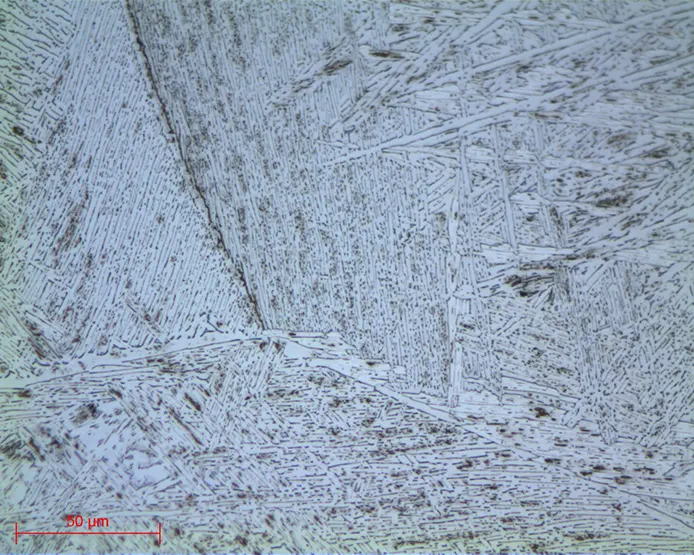
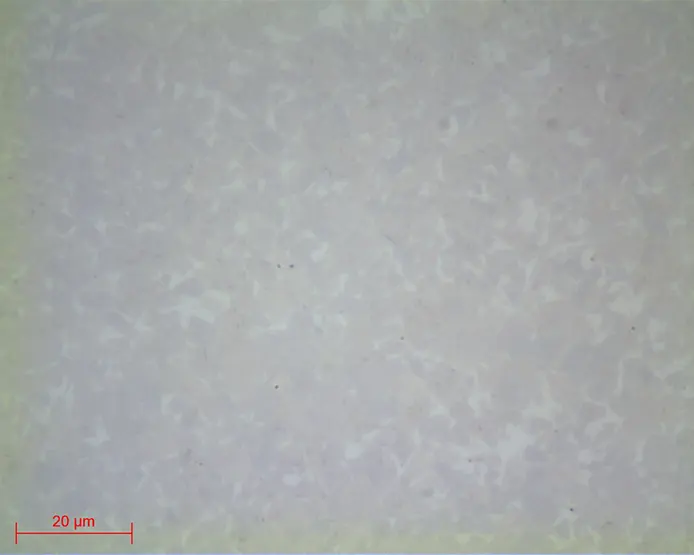
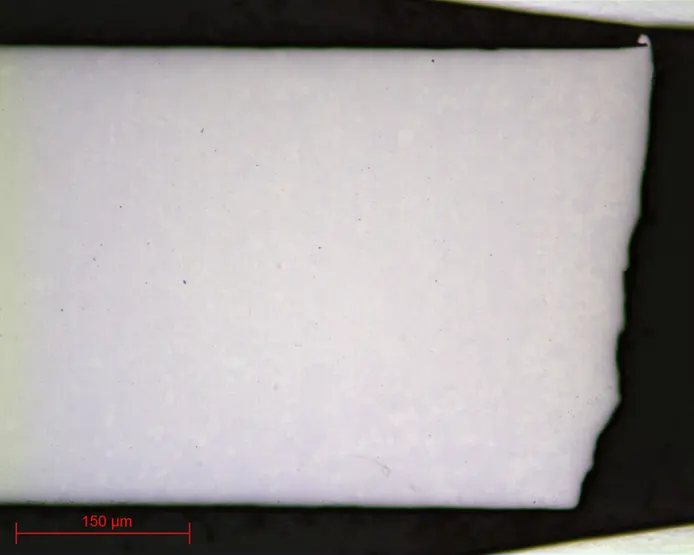
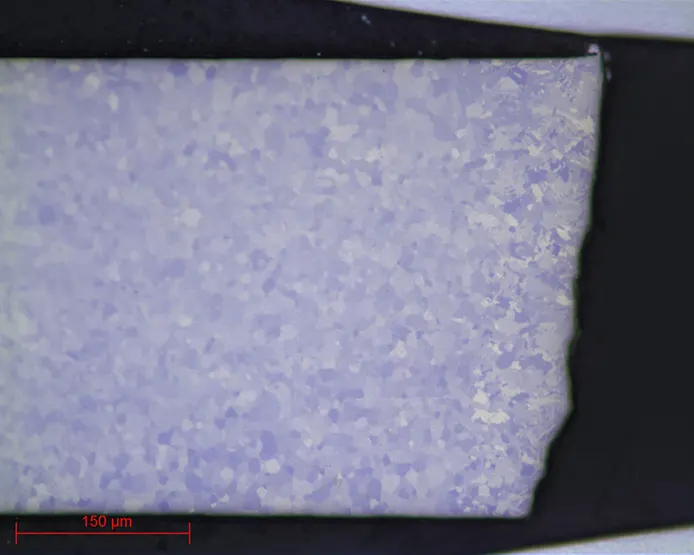
After this preparation, the polished specimens can be observed directly without metallographic etching. Moreover, titanium’s crystallography allows very good inspection of the structure under an optical microscope, revealing it with the help of a polarised light filter.
Metallographic etching of titanium is commonly done using Kroll’s reagent: a solution of 3mL of hydrofluoric acid and 6mL of nitric acid for 100mL of water. The etching creates differences in background and/or colour between the different constituents, allowing them to be inspected.
DOWNLOAD THE LAB'NOTE
Simply fill out the form below:
Discover our other Lab’Note:
- 3D printing quality control
- Hardened heat treatment control
- Medical device quality control
- Steel quality control
- Stainless steel quality control
- Cast iron quality control
- Copper alloy quality control
- Aluminum quality control
- Nickel quality control
- Titanium quality control
- Ceramic materials quality control
- Electronics quality control
- Precious metal quality control


